
Banneton Basket Guide: How to Choose, Use, and Care for It
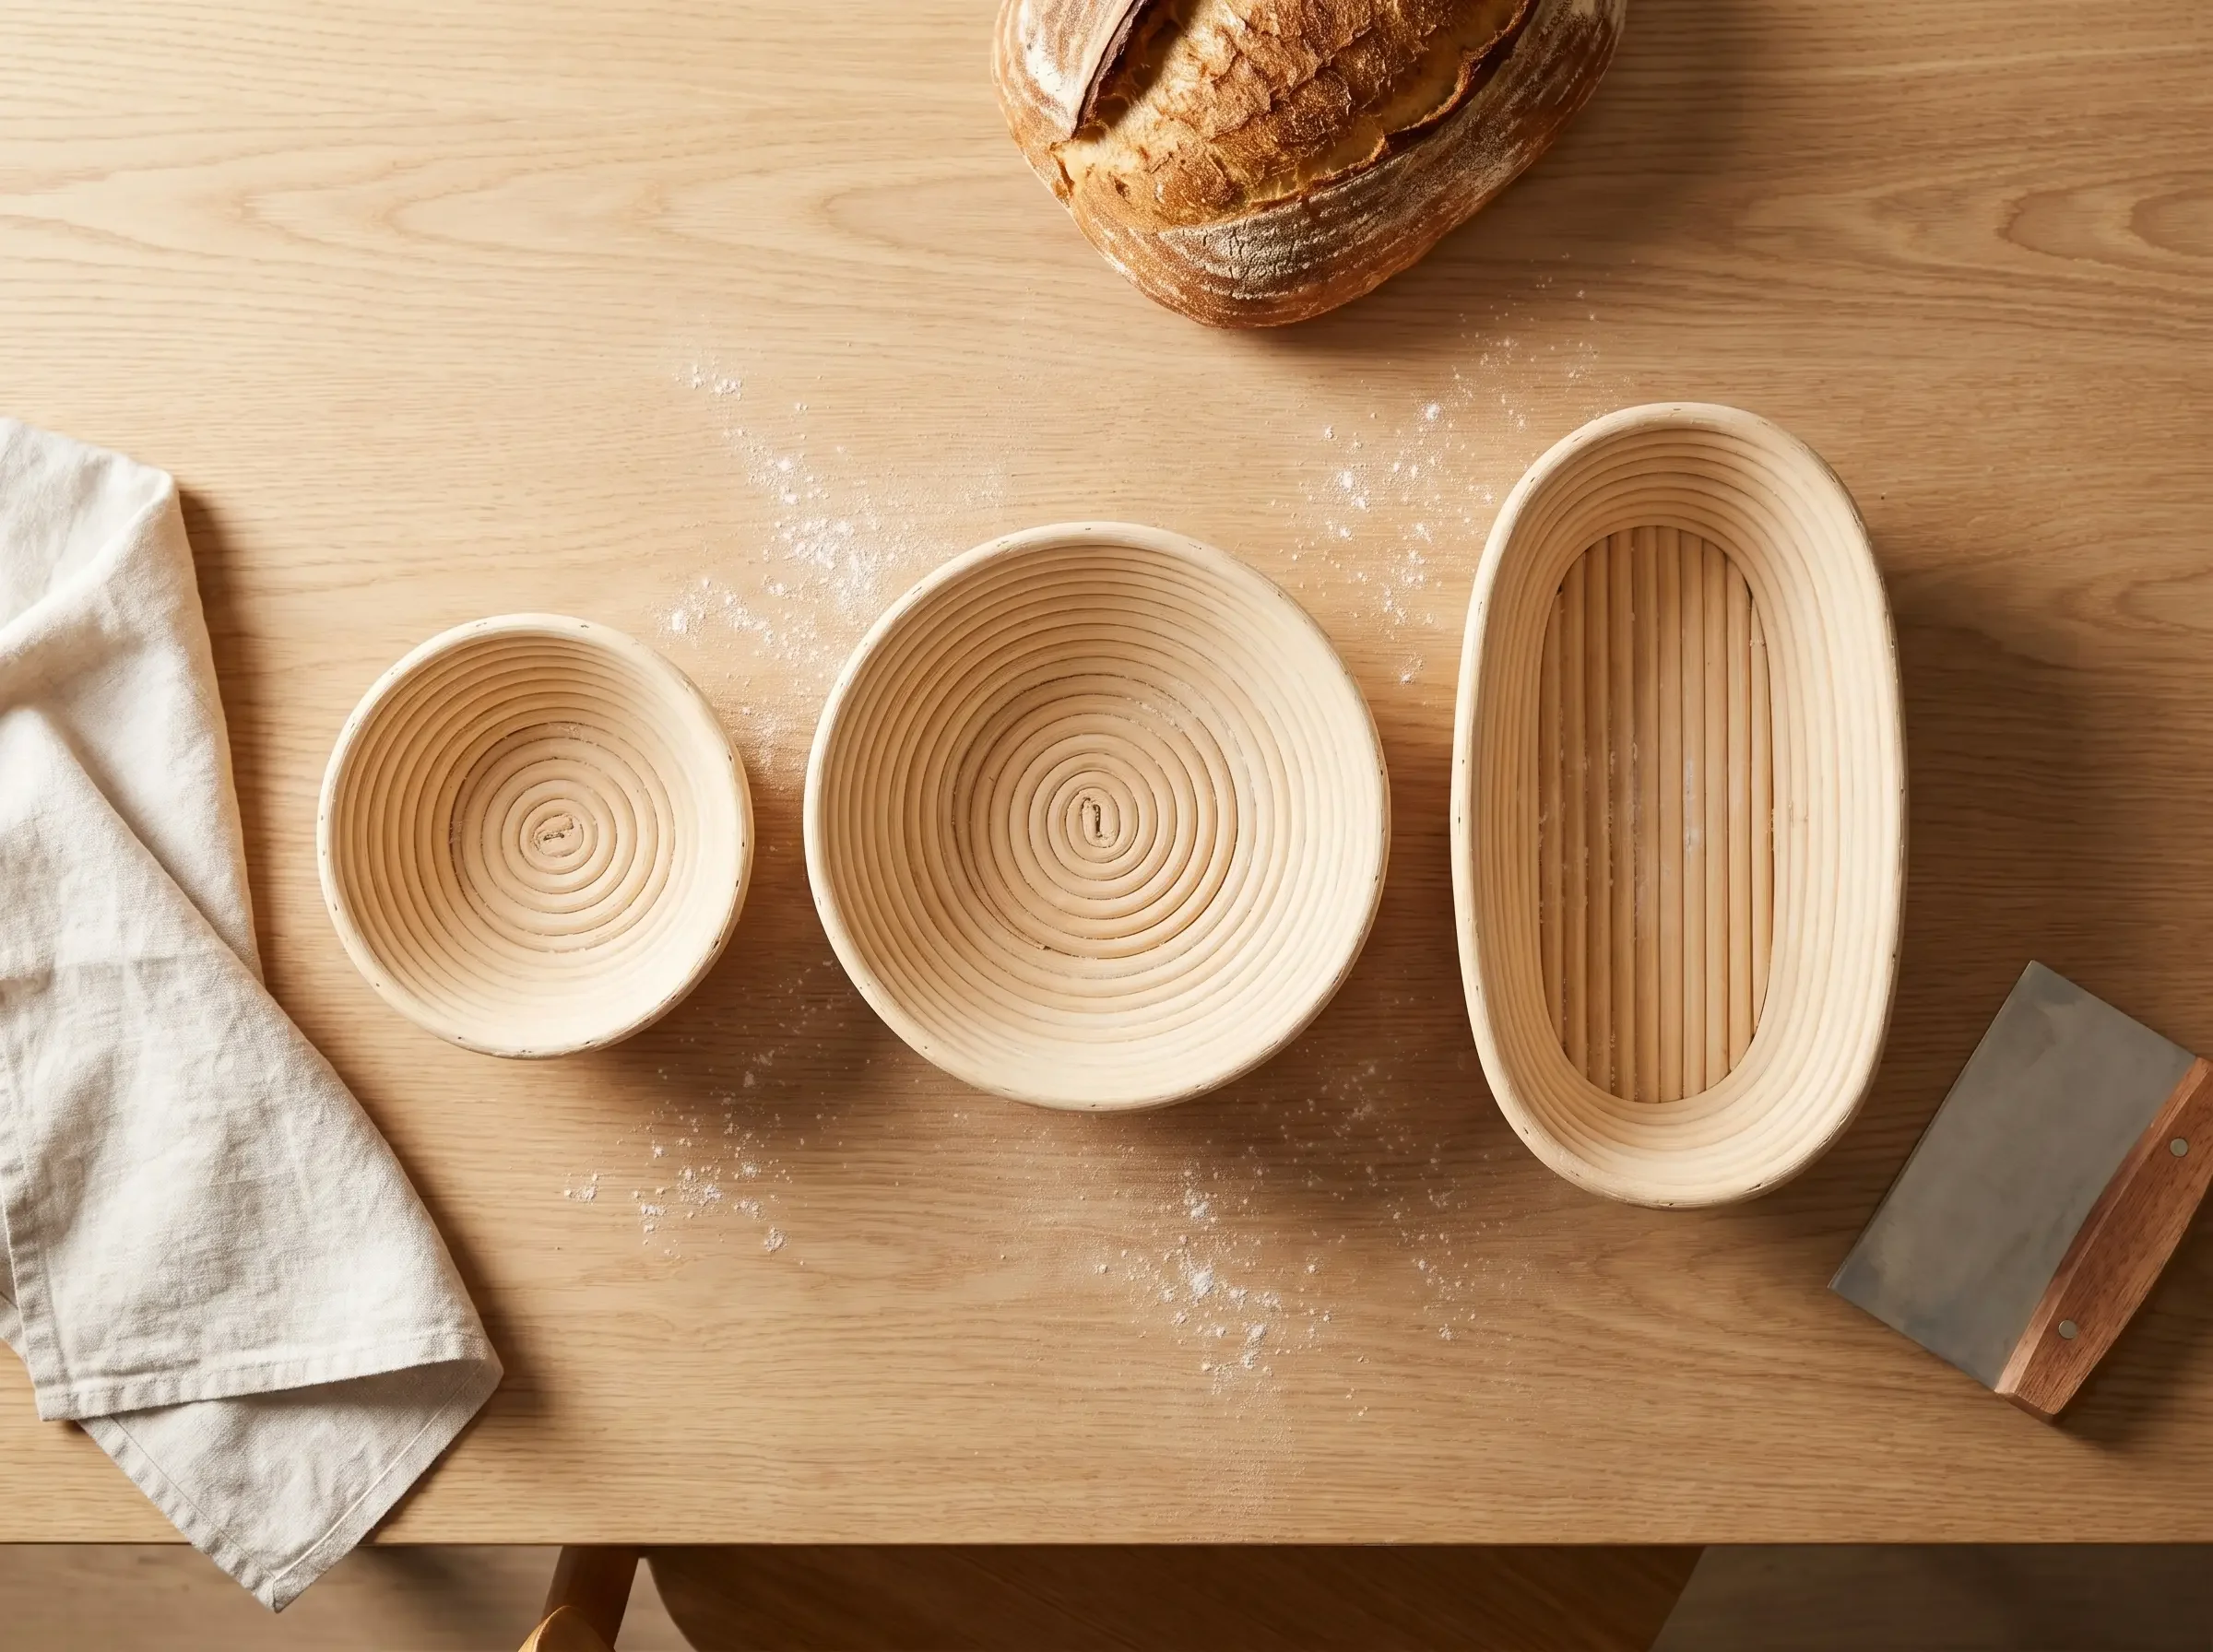
A banneton can look simple, but it solves several problems at once. It supports shaped dough during final proof, helps it hold form before baking, and can leave the flour rings many bakers love on a finished loaf. If you bake sourdough at home, understanding how a banneton works makes every later decision easier.
This banneton basket guide explains what a banneton is, whether you really need one, how to choose the right material, shape, and size, and how to prep, use, clean, and store it. If you've just opened your first basket or you're still deciding which one to buy, you're in the right place.
If you want the short version first, here it is: choose round for boules, oval for batards, and start with 8 inch if you bake a standard home loaf most often. If your real problem is sticking or cleanup, a properly matched liner is usually a better fix than changing basket size.
Key Takeaways
A banneton supports dough during final proofing and helps preserve shape.
Round baskets suit boules; oval baskets suit batards.
For most home bakers, 8-inch is the everyday sweet spot.
Rice flour, a dry basket, and proper release technique prevent most sticking.
A cloth or linen liner helps when sticking or basket protection is the real issue.
For deeper subtopics, see our guides to round vs. oval bannetons, banneton sizing, anti-stick flouring, liner troubleshooting, and banneton cleaning and care.
What is a banneton basket, and what does it actually do?
A banneton is a proofing basket used during the final rise to support shaped dough, help it hold form, and prepare it for an easier turn-out before baking.
A banneton, also called a proofing basket or brotform, is a basket used during the final rise before baking. Its main job is support. Instead of letting shaped dough spread outward on a flat surface, the basket holds it in place so it can rise with better structure and cleaner edges.
That support matters most with wetter doughs, sourdough loaves, and shaped breads that need help holding tension before they go into the oven. The basket doesn't bake the bread. It doesn't replace shaping skill either. It simply gives your dough a stable place to proof.
Natural-fiber baskets are widely used because they allow airflow around the dough during proofing. In practical terms, that can help the outer surface stay a little drier than it would in a slick bowl, which many bakers find useful for scoring and release.
The spiral pattern is not just decorative. On an unlined basket, the ridges can leave flour rings on the dough. Some bakers want that rustic look. Others prefer a smoother surface and use a liner instead.
So, do you need one? Not strictly. You can make good bread without a banneton. But if you bake often, want more consistent shaping, or you're tired of dough flattening during proof, a banneton is one of the most practical upgrades you can make.
A banneton is best understood as a shaping support tool, not a magic bread improver. Bakers are usually happiest with their purchase when they expect better handling and consistency rather than guaranteed oven spring.
Do you really need one, or can a bowl work instead?
Yes, a bowl can work for occasional baking, but a dedicated banneton is more consistent, easier to repeat, and better suited to regular sourdough routines.
You can absolutely proof dough in a bowl lined with a floured towel. For occasional baking, that setup works well enough. It supports the dough, costs nothing if you already have the bowl, and lets you test whether you enjoy making shaped loaves before buying dedicated gear.
Still, a bowl has limits. It is usually less consistent in shape and often fussier to flour properly. Towels can bunch. Dough can stick in odd places. The shape can be less precise, especially if you bake often and want repeatable results.
A dedicated banneton makes more sense when you bake weekly, work with sourdough, or want a cleaner workflow. It saves setup time. It stores easily. It also gives you more predictable dimensions when you're planning boules or batards.
Who benefits most from owning one? Home bakers who want to shape with more confidence. Gift buyers do too, because a banneton is useful from beginner level onward. Why keep improvising if you're already baking the same loaf every weekend?
If you're still deciding, think in terms of routine. If bread baking is becoming part of your week, a banneton stops feeling optional very quickly.
For a budget-first workaround, a bowl is fine. For a repeatable baking setup, a banneton is the clearer long-term choice.
How do you choose between rattan, wood pulp, and other proofing basket materials?
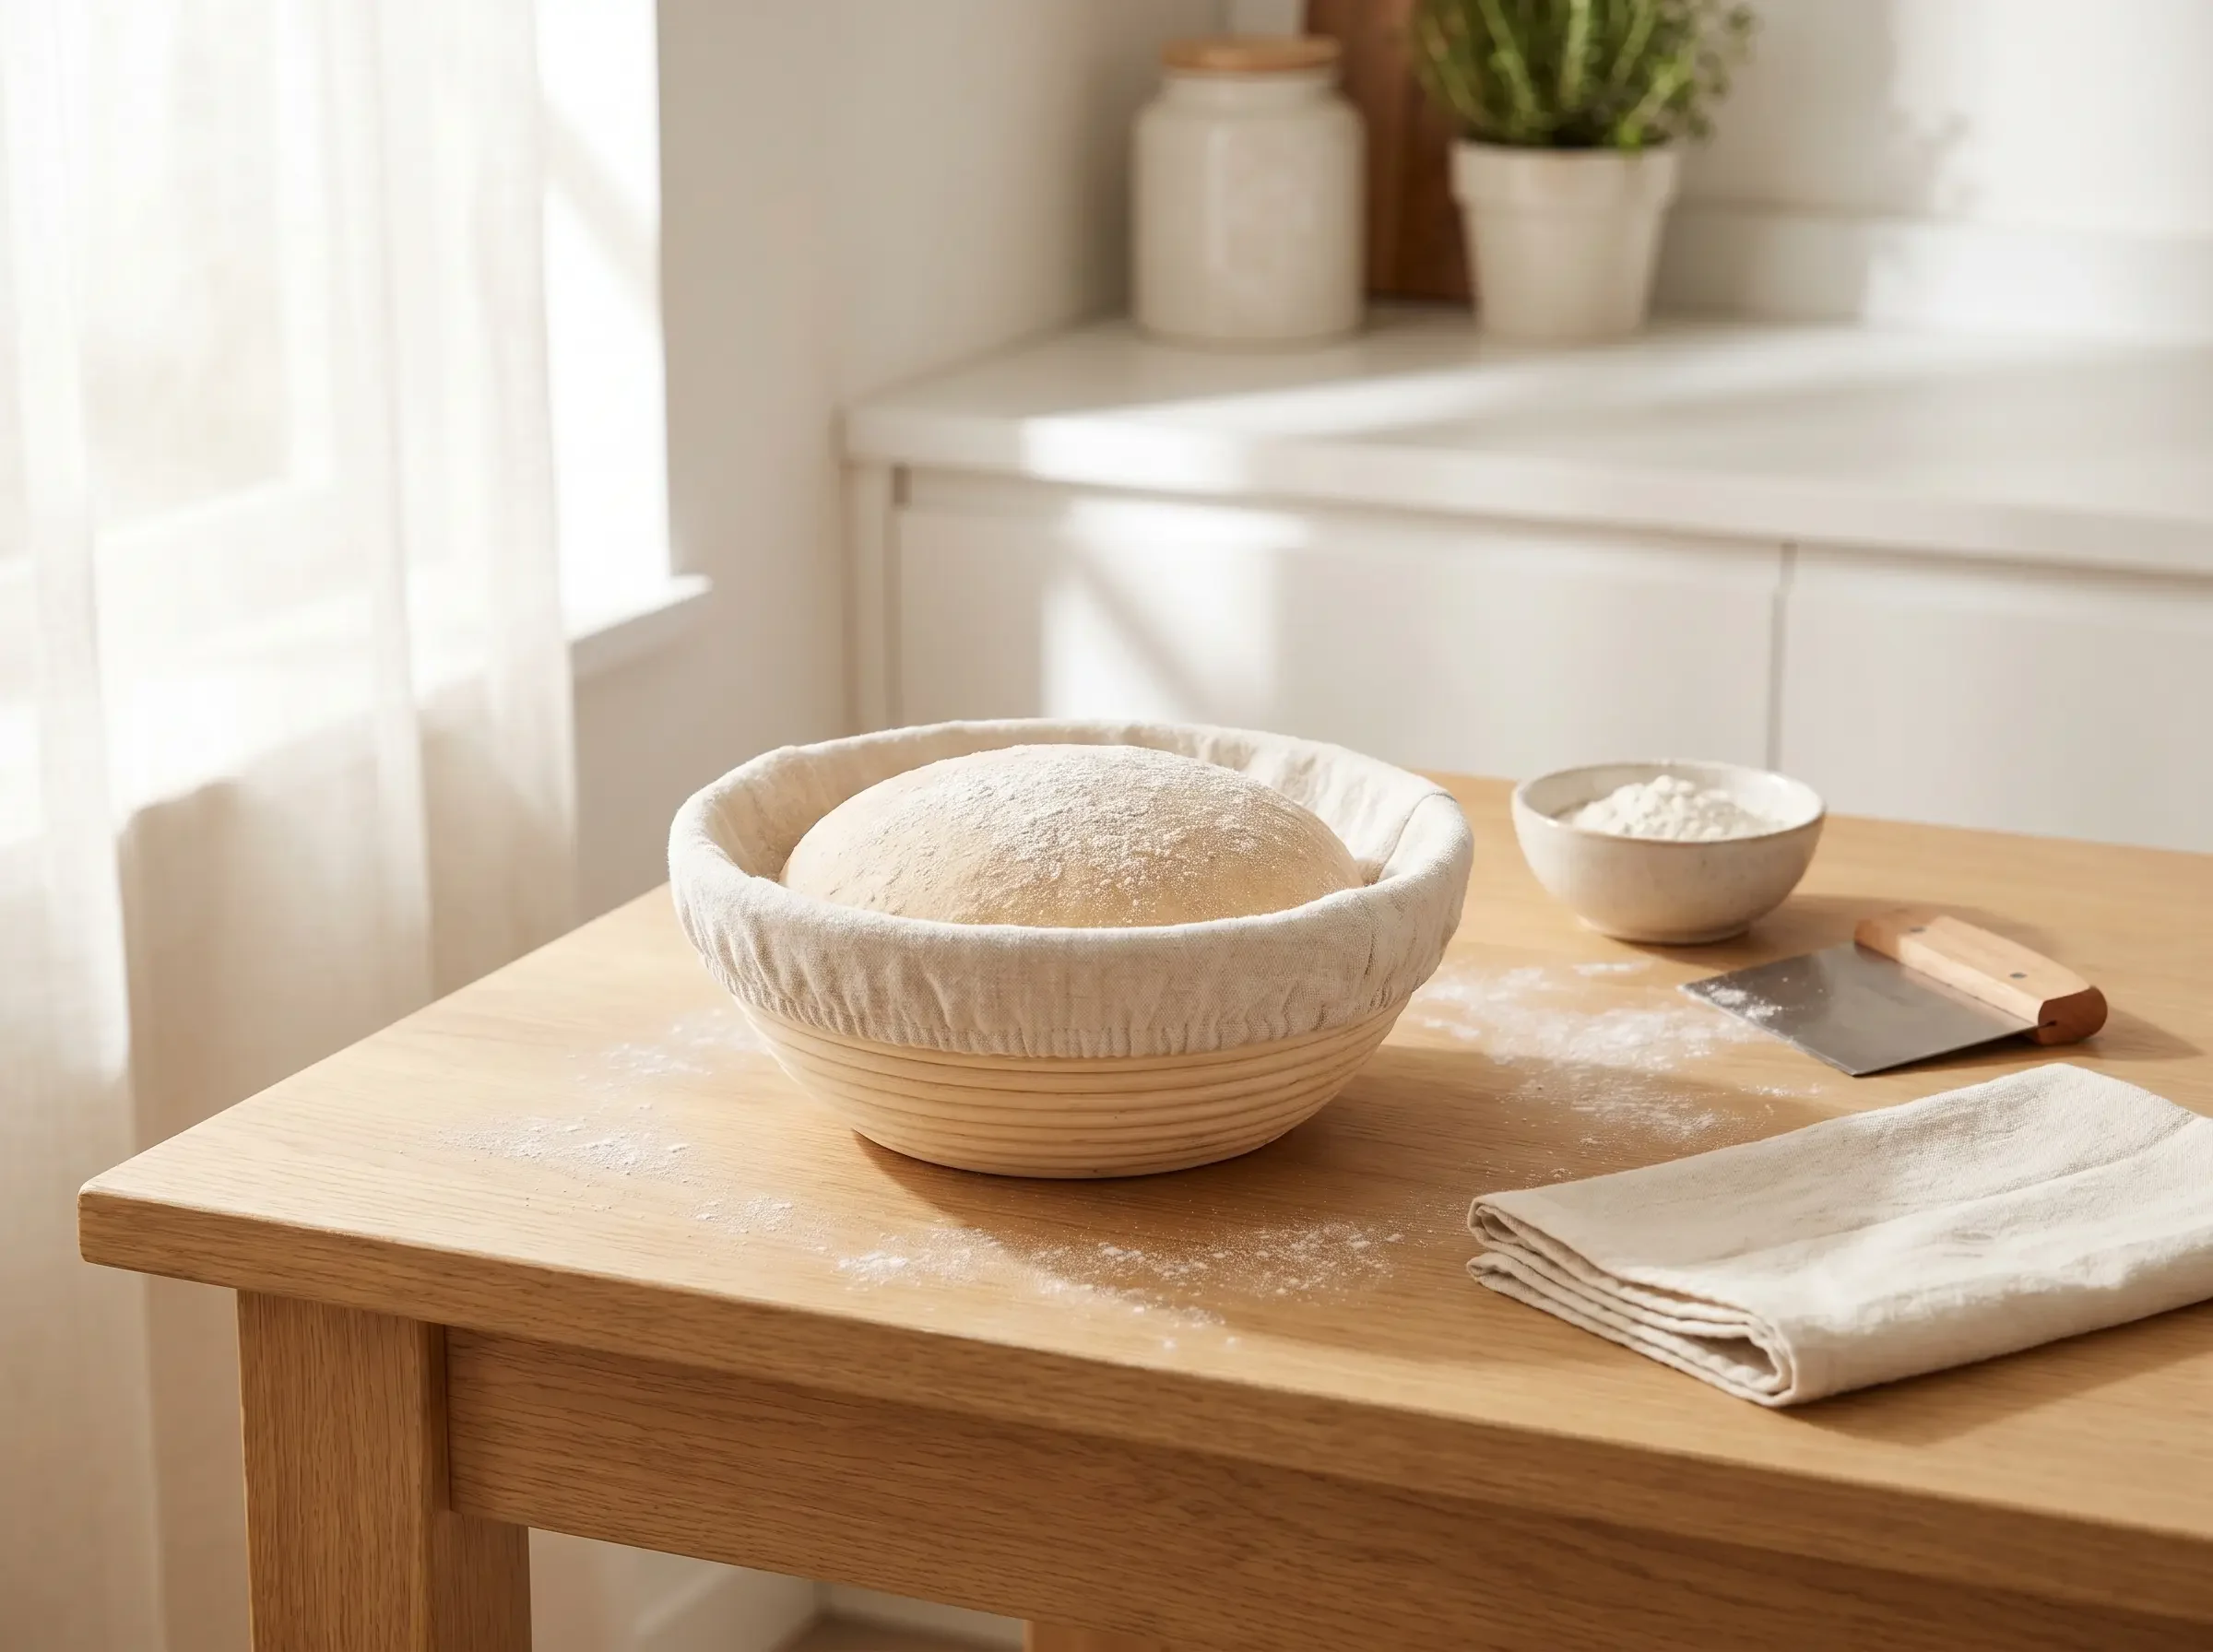
For most home bakers, rattan is the easiest starting point because it is lightweight, breathable, durable, and comfortable to use either bare or with a liner.
Material affects feel, cleanup, and the look of the final loaf. The most common options are rattan, wood pulp, plastic, and makeshift fabric-lined vessels. Each can work, but they serve slightly different preferences.
Rattan is the classic choice for a reason. It is lightweight, breathable, and durable, and it gives the basket its familiar coiled shape. Many home bakers like the way natural rattan handles. It feels traditional without being delicate, and it works well either bare or with a liner.
Wood pulp baskets are also common. They are usually stiffer and often have a more matte, uniform surface. Some bakers like them because they are simple to dust and can be easy to maintain. Others prefer rattan because it feels warmer and more handcrafted.
Plastic baskets exist, but they are less appealing to many home bakers who want a natural-material feel. A plastic option may be practical in some kitchens, yet it usually isn't the first choice for bakers who care about traditional handling and appearance.
For most people, the decision comes down to this:
Choose rattan if you want a classic, breathable basket
Rattan is a strong fit if you want the traditional proofing basket experience, visible flour rings, and a natural material that feels pleasant to use and easy to store. It's especially good for bakers who want one basket to cover both bare-basket proofing and liner use.
Choose wood pulp if you prefer a more uniform surface
Wood pulp can make sense if you want a neat, minimal basket and don't care as much about the traditional coiled appearance.
In practice, material choice is usually less important than shape, size, and sticking control. Most frustrations blamed on the basket itself are actually flouring, hydration, or release-timing issues.
If you're choosing for long-term use, natural rattan is often the easiest place to start. It offers the classic feel many bakers expect, and it fits well with both beginner and intermediate routines.
Which banneton shape and size should you choose for your loaf?
Choose shape by loaf style first, then choose size by your usual baking habit. For most home bakers, that means round for boules, oval for batards, and 8 inch as the safest everyday starting point.
This is the buying decision that matters most. Shape affects loaf style first. Size affects capacity second. If you get those two right, the rest becomes much easier.
Round vs oval: which shape makes sense?
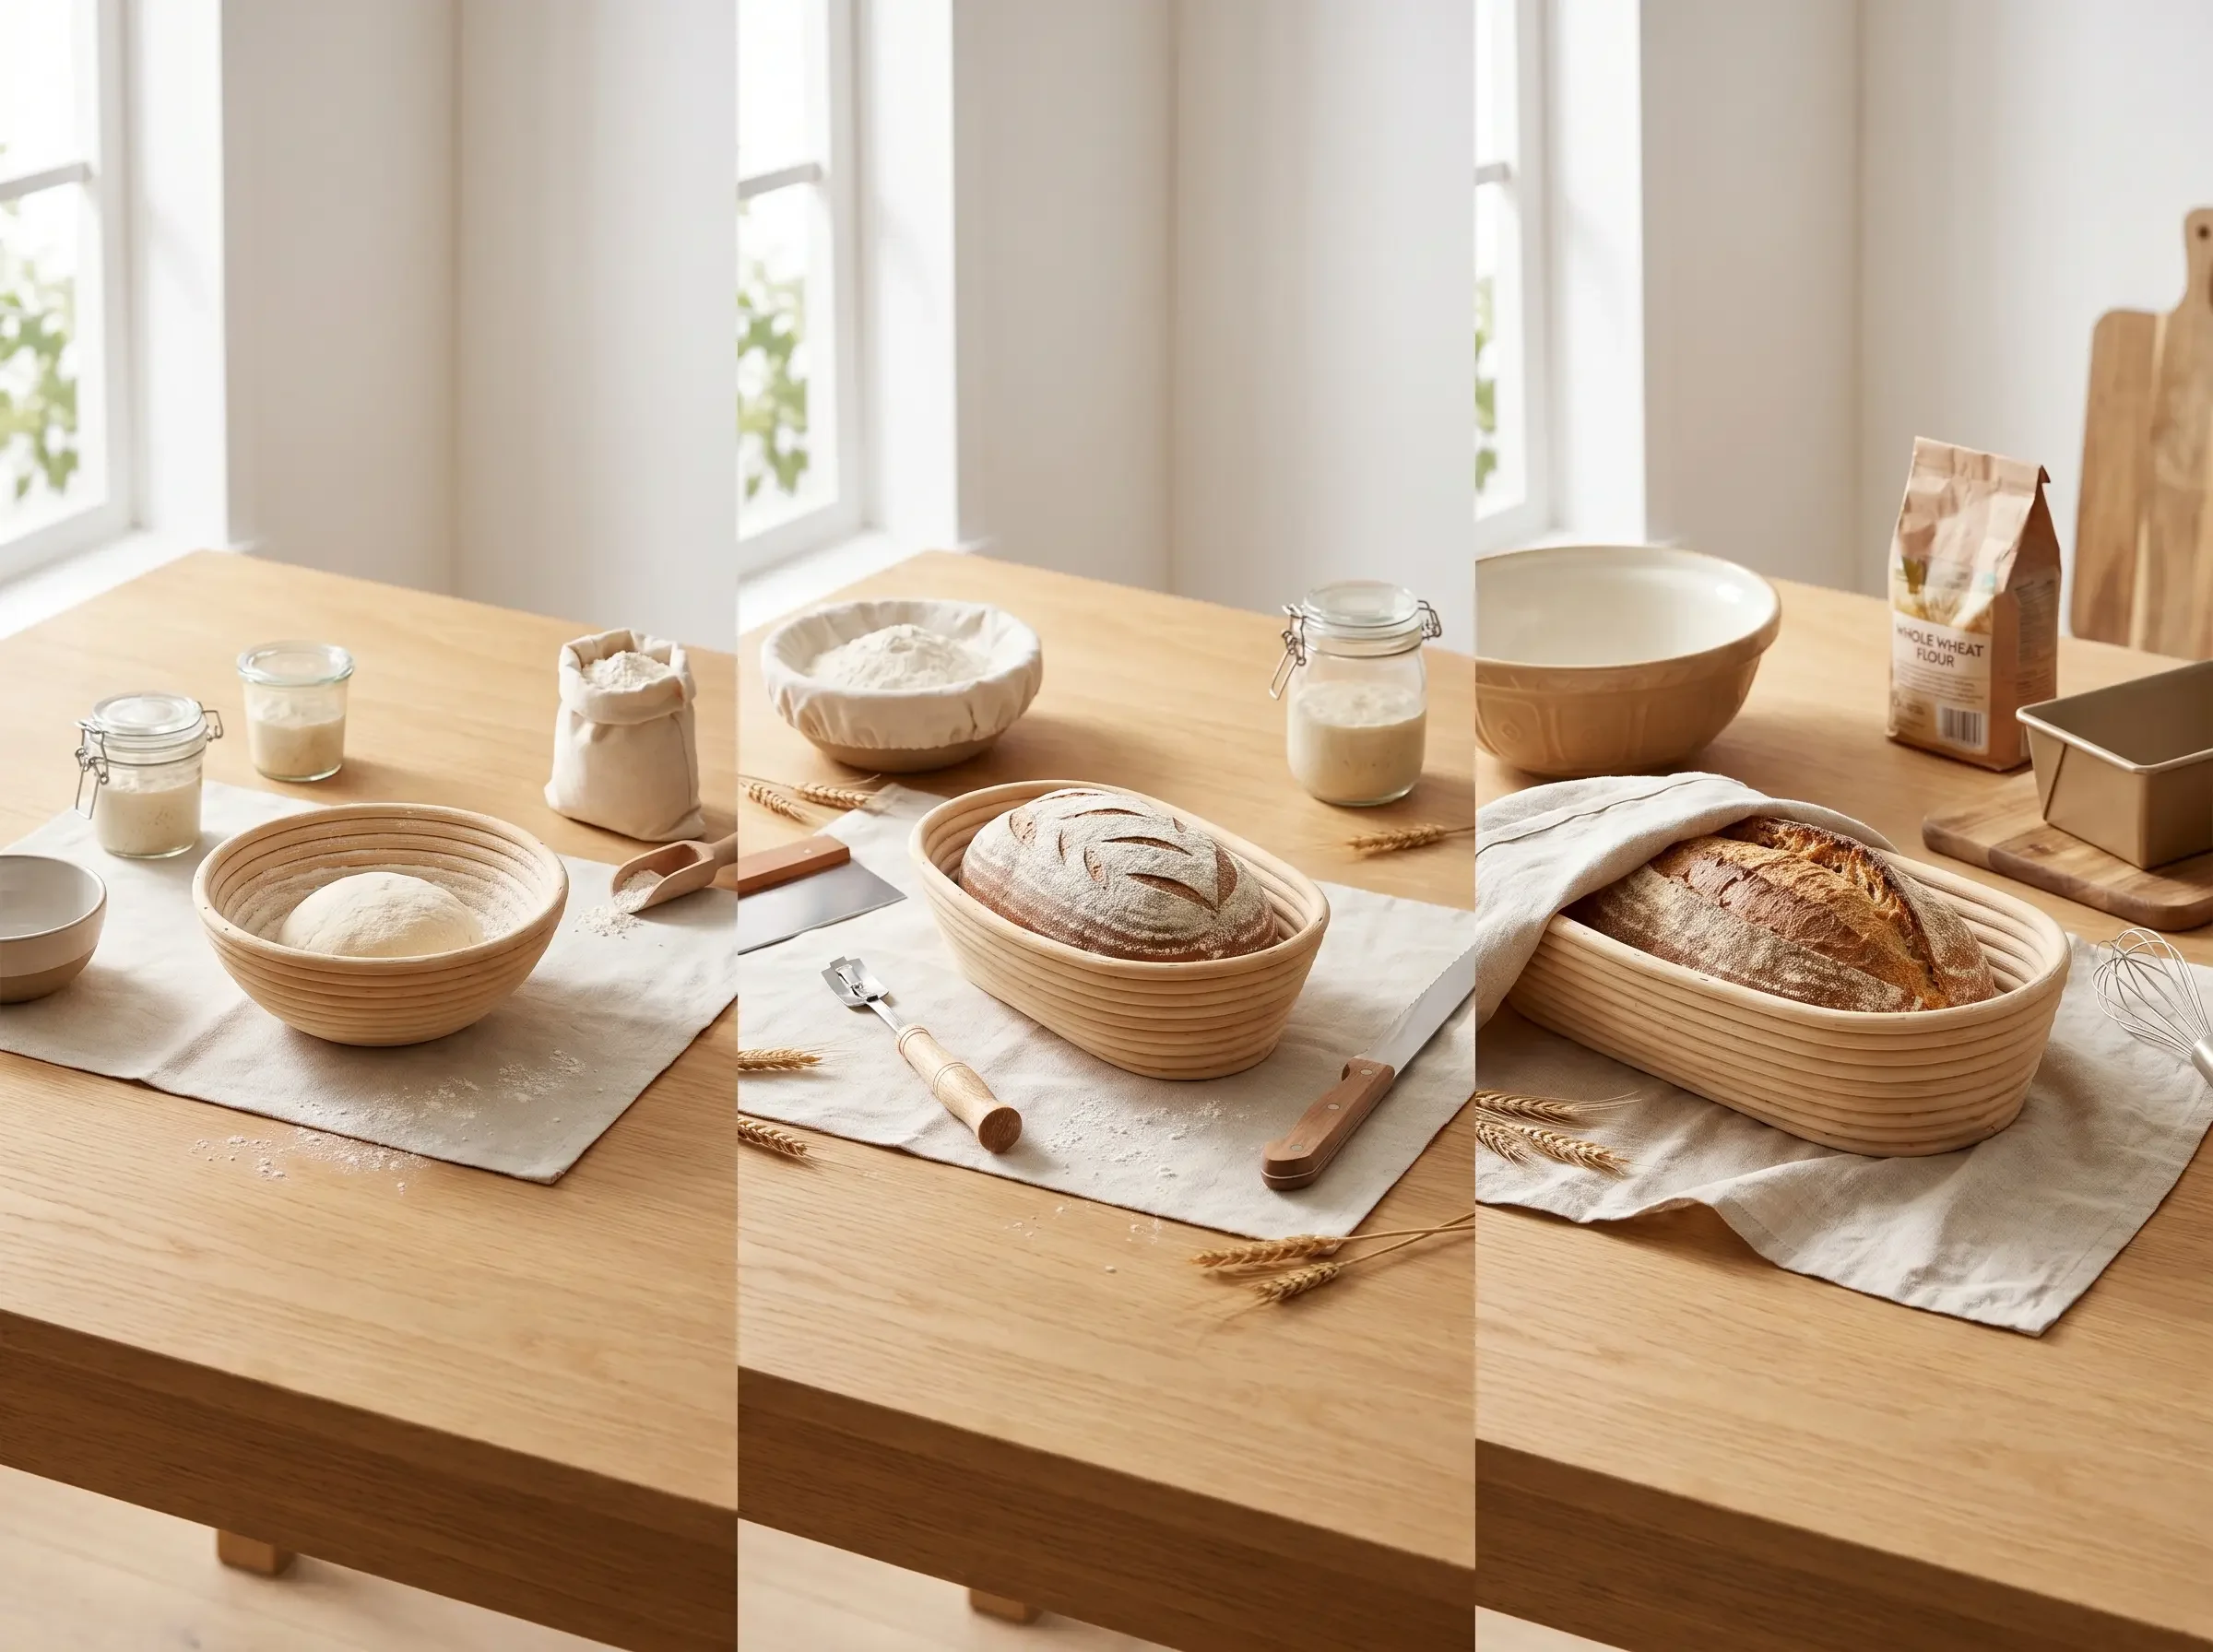
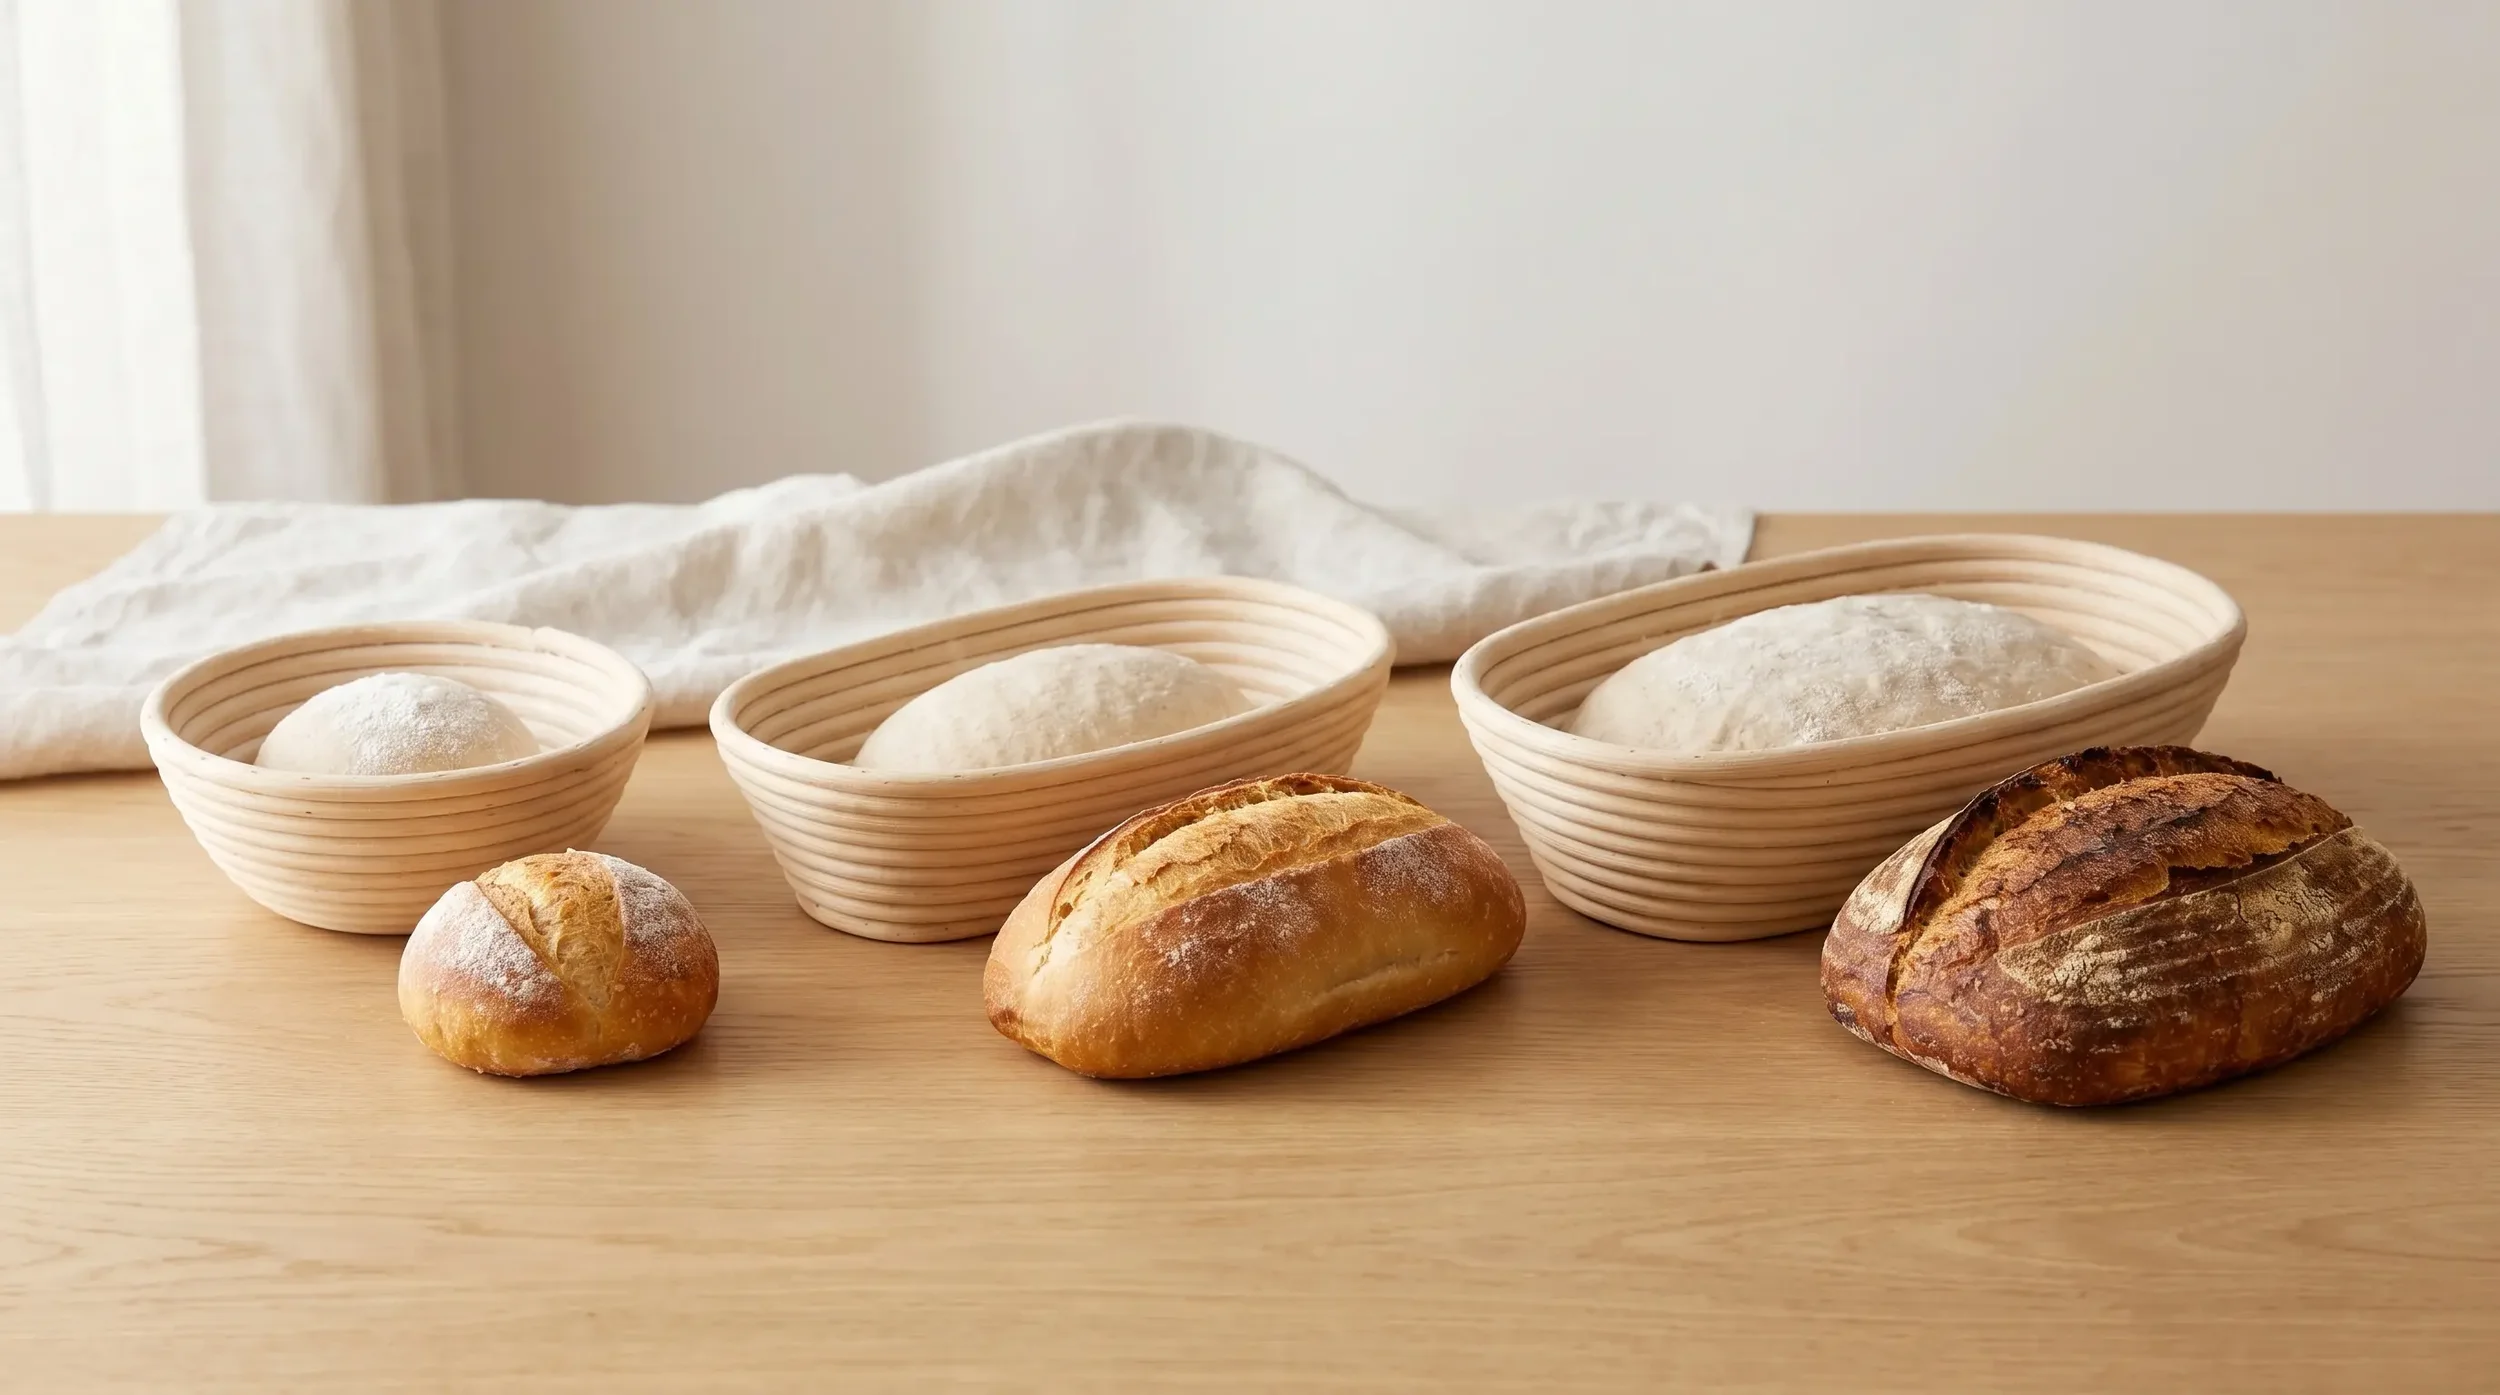
Choose a round banneton for boules. Round baskets support a classic, even loaf shape and work well for everyday country loaves, beginner sourdough routines, and compact storage. If the bread you picture is a round artisan loaf, start with a round proofing basket.
Choose an oval banneton for batards. Oval baskets support longer loaves and are often more practical if you bake for slicing, sandwiches, or smaller Dutch ovens that suit an oblong shape better. If you mostly bake longer loaves, an oval proofing basket is usually the better fit.
A simple rule helps: round for boule, oval for batard. That's not rigid, but it is the cleanest starting point.
If you're deciding between the two, ask what you bake most often. If you don't know yet, round is usually the easiest first basket because it suits many standard home baking routines.
For a deeper decision path, see our guide to round vs. oval bannetons.
What size banneton should most home bakers choose?
For first-time buyers, 8 inch is often the safest everyday choice. It fits the middle ground between tiny test bakes and larger family loaves. It also matches the way many home bakers actually bake: one reliable loaf at a time.
Here is a practical size guide based on first-party basket sizing logic:
| Basket size | Best for | Typical use case |
|---|---|---|
| 6 inch round | Mini loaves, test bakes, first practice batches | Small doughs and experimentation |
| 8 inch round | Standard everyday home loaves | The most versatile first basket |
| 10 inch round | Larger regular loaves | More capacity without going oversized |
| 6 inch oval | Smaller oval loaves and trial bakes | Testing batard shaping |
| 8 inch oval | Standard home batards | Everyday oval loaves |
| 10 inch oval | Larger oval loaves | More length and dough capacity |
That same first-party logic also helps when you shop: the round banneton follows a 6, 8, and 10 inch path for mini, standard, and larger boule-style loaves, while the oval banneton follows the same progression for smaller, everyday, and larger batards.
How should you choose if you're between sizes?
If you usually bake standard home loaves, choose 8 inch. If you know you like larger doughs or want more room, move to 10 inch. If you're practicing, gifting to a beginner, or making smaller loaves, 6 inch can be a smart entry point.
A useful way to think about size is not by basket measurement alone but by baking habit. A baker making one everyday loaf usually wants the most forgiving option, which is often 8 inch. A baker experimenting with small batches benefits from 6 inch. A baker regularly scaling up is often happier with 10 inch.
If your main problem is sticking rather than shape or size, don't size up by default. A proofing basket liner is the better fix when your basket already fits your loaf and you just want easier release, basket protection, or liner replacement.
If you want more detail before buying, see our banneton sizing guide.
How do you prep a new banneton before first use?
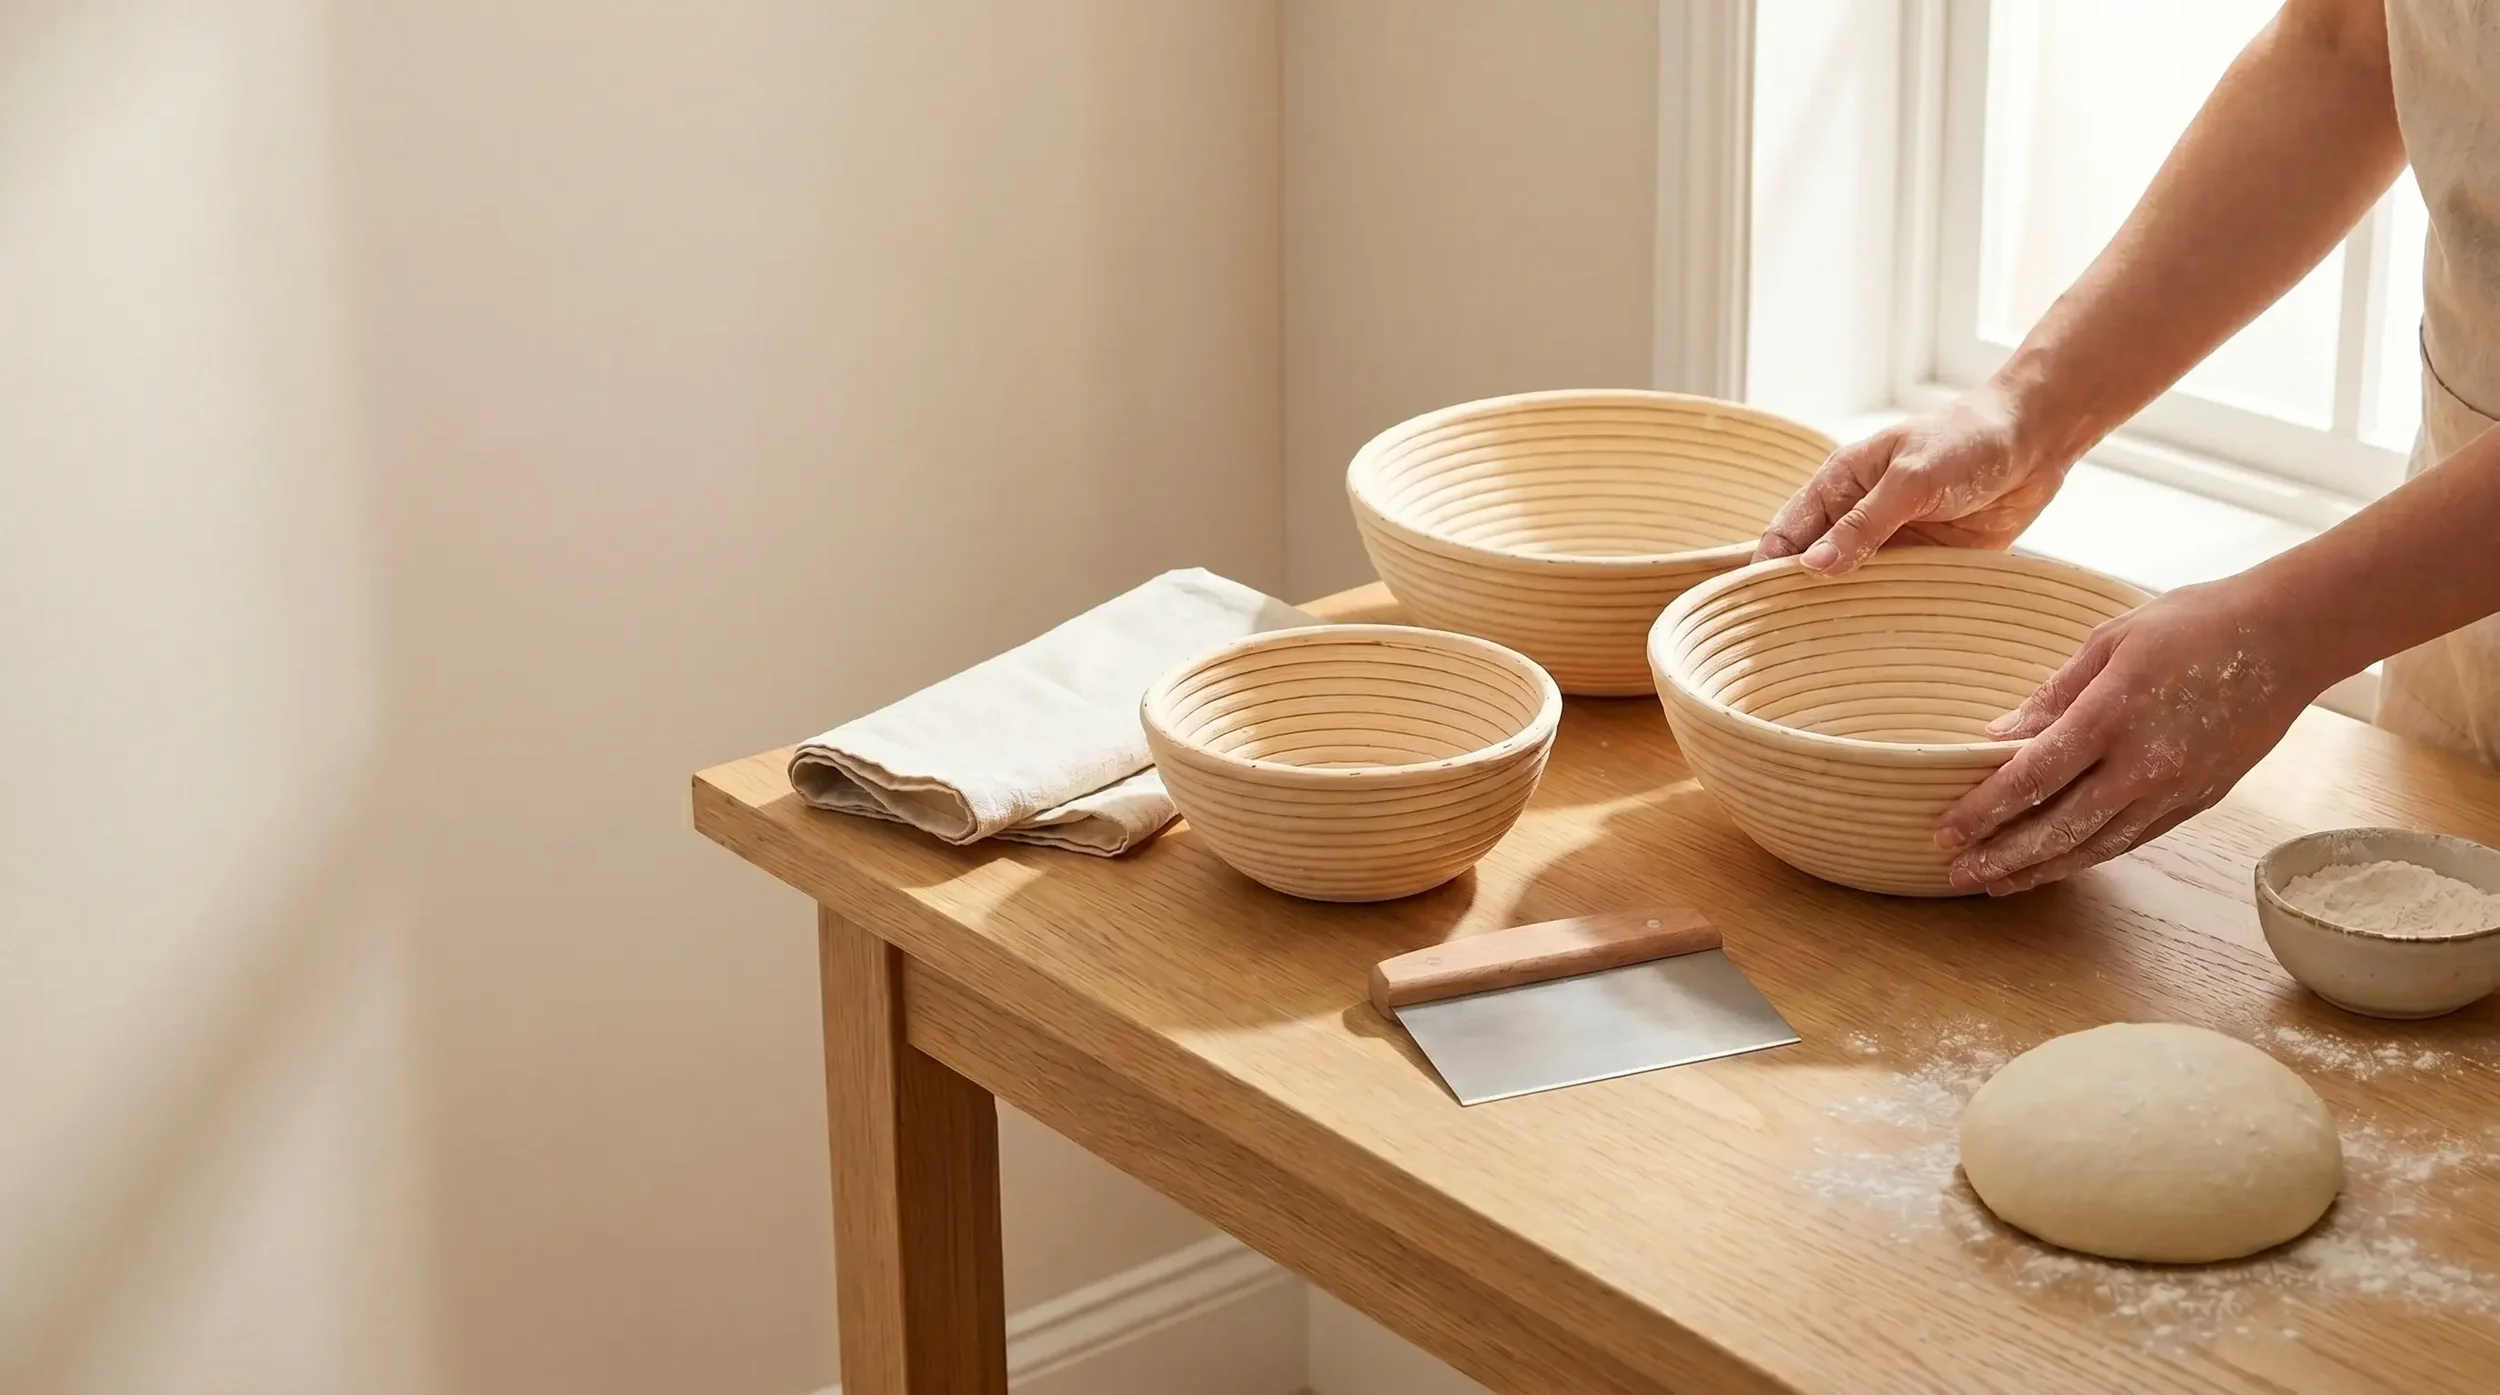
Prep is simple: make sure the basket is clean, dust it well, keep any moisture minimal, and decide early whether you want to proof bare or with a liner.
A new banneton doesn't need complicated seasoning, but it does need a sensible first setup. The goal is to reduce sticking and let the basket dry into regular use.
Start by checking that the basket is clean and dry. Some bakers like to lightly mist or barely dampen a new rattan basket before first flouring so the flour can cling to the surface. If you do this, keep it minimal and avoid leaving the basket wet.
Next, dust it generously with flour, paying attention to the grooves. Rice flour is especially useful because it resists sticking well. Rotate and tap the basket so the flour coats the interior evenly.
Then let the basket dry fully before use if you added any moisture. Once dry, it is ready for dough.
You also need to decide whether to proof bare or lined. If you want the flour ring pattern, use the basket without a liner. If you want easier release, easier cleanup, or more basket protection, start with a liner from day one.
That choice is not really about skill level. It's about preference and workflow. Some excellent bakers always line their baskets. Others rarely do. Either method can be correct.
If you're unsure, start bare for the classic look and add a liner when your real goal shifts to easier release or simpler cleanup.
How do you flour and use a banneton basket without dough sticking?
Most sticking problems are solved by technique: use a dry basket, dust with rice flour, keep the dough surface from getting too wet, and choose a liner only when the issue is persistent.
Most sticking problems come from one of four causes: too little flour, the wrong flour, too much surface moisture on the dough, or not enough drying time in the basket. The fix is usually technique first.
Start with the right flour
Rice flour is the standard choice for anti-stick dusting because it stays drier and less gummy than wheat flour. Many bakers use pure rice flour. Others mix rice flour with bread flour. Both can work, but if sticking has been a problem, start with more rice flour.
Dust the inside of the basket well, especially in the grooves. Then dust the outside surface of the shaped dough lightly before placing it in the basket. That extra layer helps create separation.
Place the dough correctly
Put the dough seam-side up in the banneton if you plan to turn it out for scoring and baking. That way, the smooth side will be facing up once inverted onto your parchment, peel, or Dutch oven base.
After placing the dough in the basket, cover it and let it proof according to your recipe. Avoid letting the surface become wet or tacky from condensation. If you refrigerate the dough, make sure the basket still has good airflow around it.
When is technique enough?
Technique is enough when your basket size is right, the dough is shaped with tension, the basket is dry, and you're using enough rice flour. In that situation, most loaves release cleanly.
If you still get occasional sticking, adjust one variable at a time. Add a bit more rice flour. Tighten shaping. Let the dough surface dry slightly. Don't change everything at once or you won't know what solved it.
If you want a deeper walkthrough, see our anti-stick flouring guide.
When is a liner the better solution?
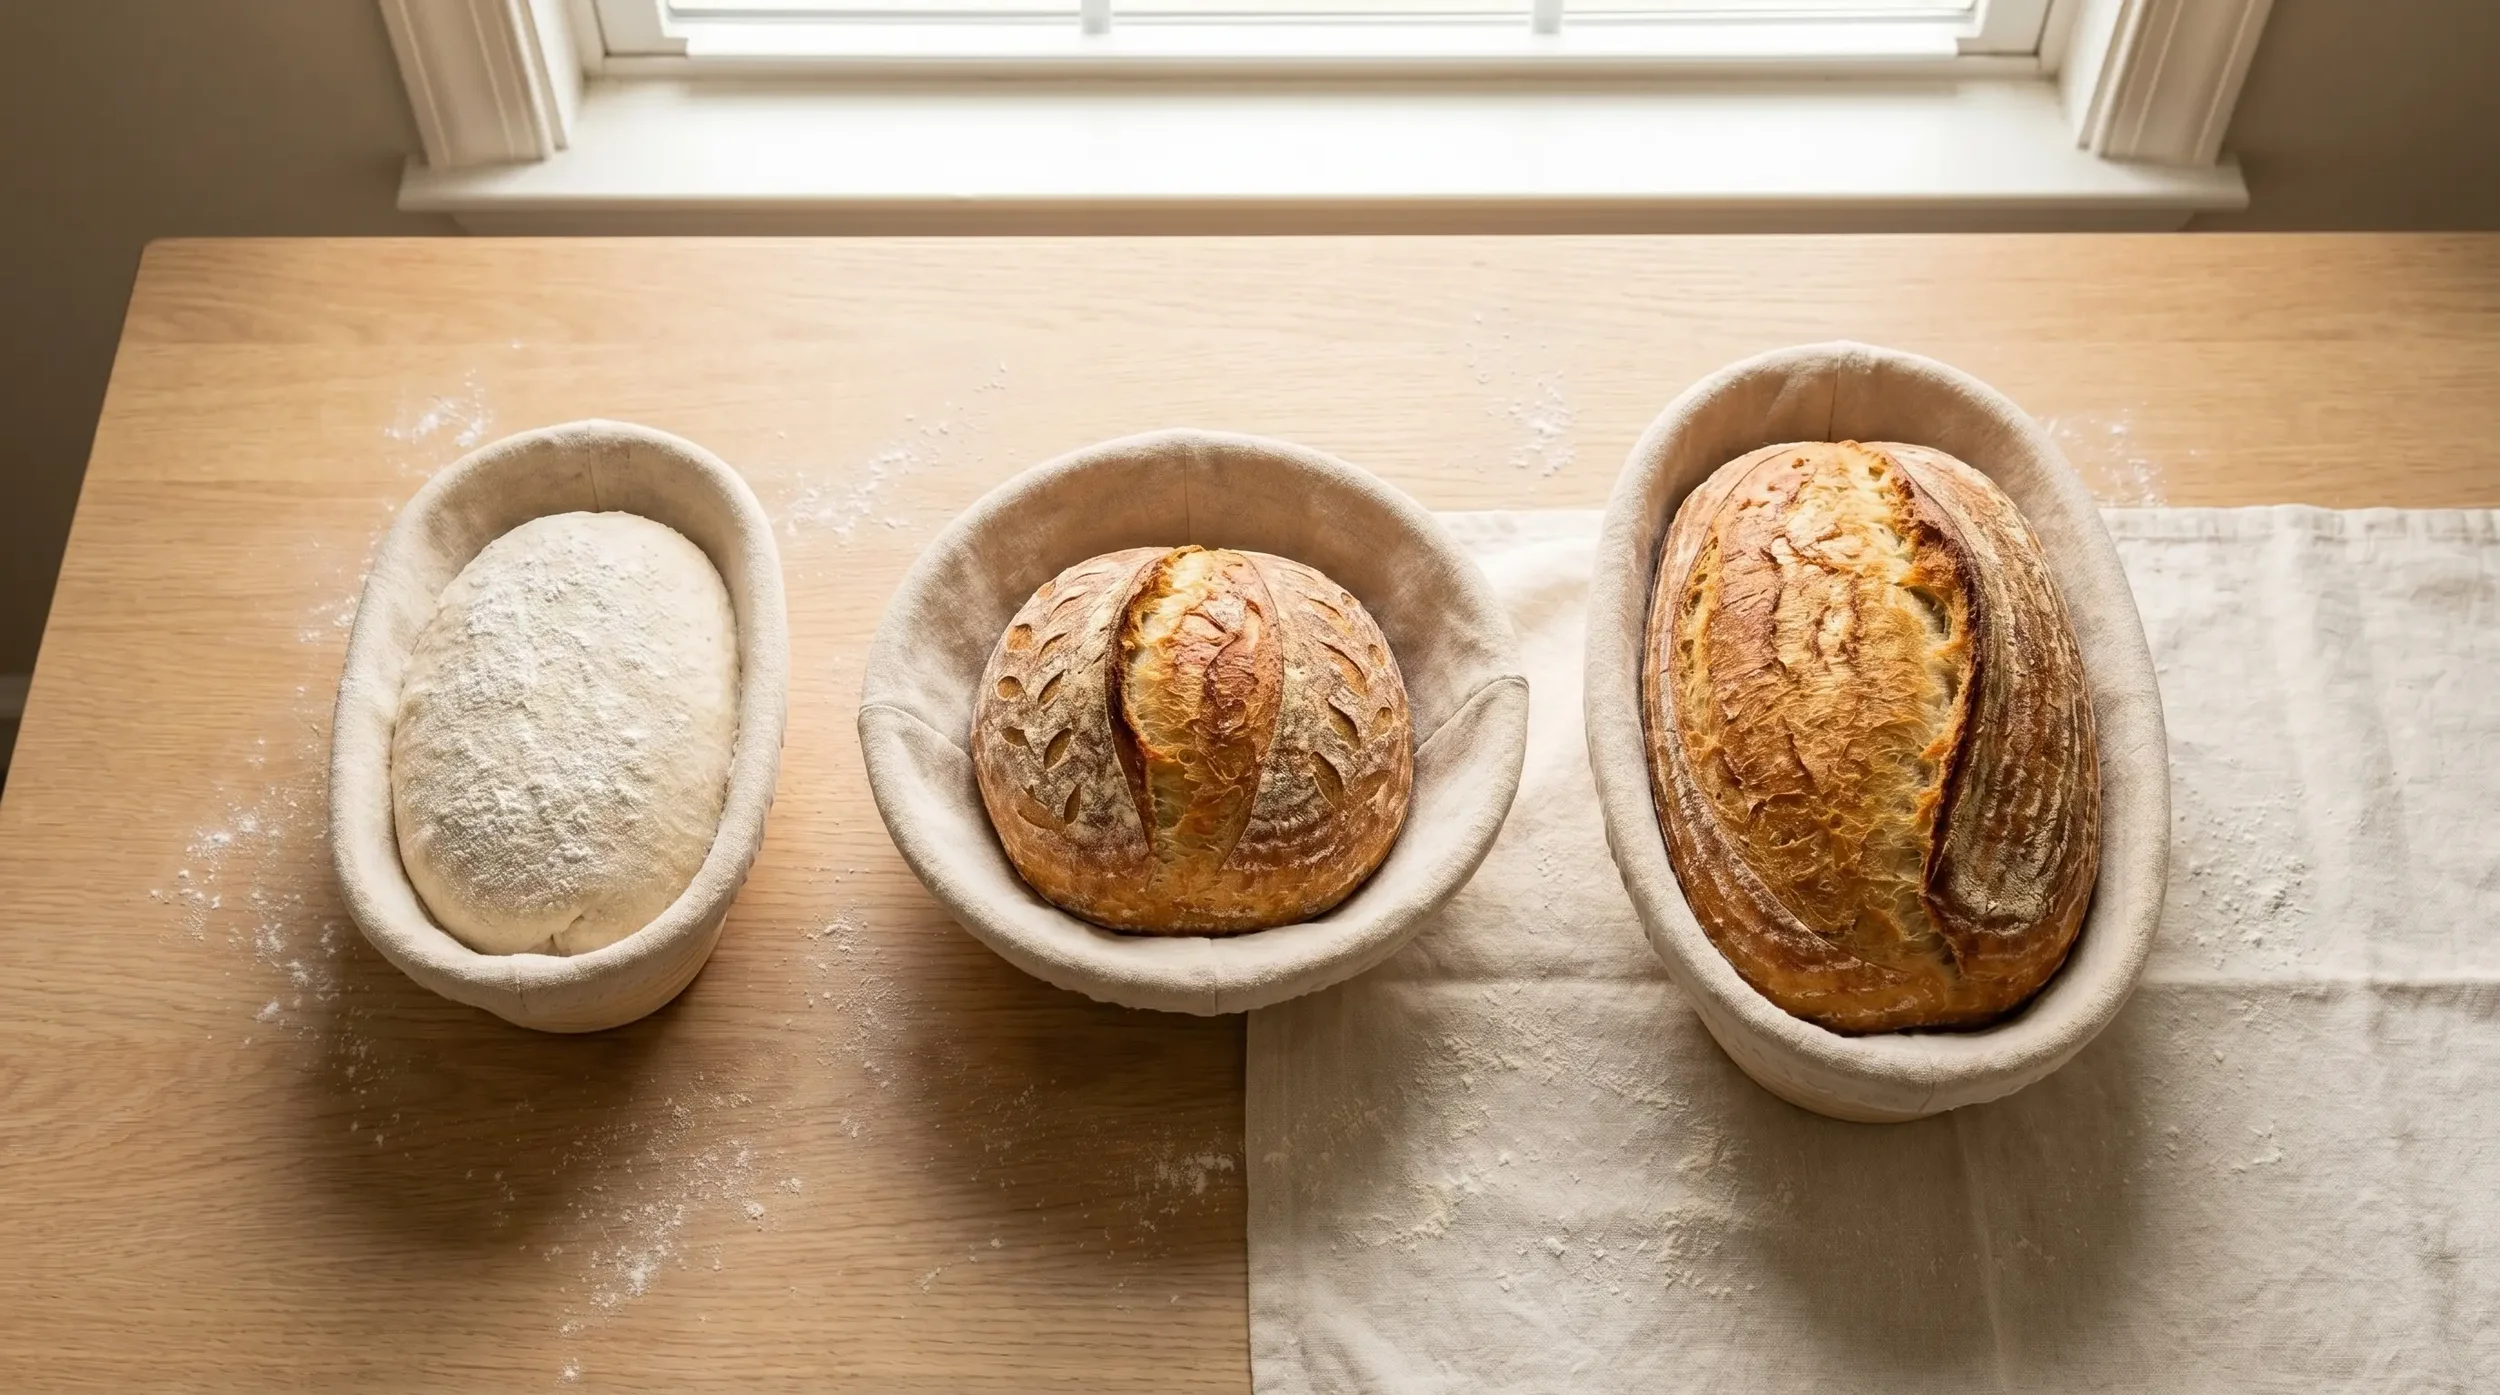
A liner is the better solution when the issue is persistent sticking, very soft dough, easier cleanup, or protecting the basket itself. It is also useful if you want a smoother dough surface instead of ring patterns.
This is where many bakers overcorrect. They assume the basket is wrong and buy another size. But if shape and size already suit your loaf, the smarter fix is often a cloth liner that matches the basket you already own.
A properly matched proofing basket liner is especially practical for sticky dough, release troubleshooting, and general maintenance. Choose the liner size that matches your basket's existing shape and size rather than treating a liner like a universal add-on.
The best anti-stick workflow is usually boring: dry basket, rice flour, shaped dough with surface tension, then a confident turn-out. Most sticking starts when one of those basics gets skipped.
For more specific fixes, see our liner troubleshooting guide.
How do you turn dough out cleanly and keep the shape intact?
Turn the dough out in one smooth motion, lift the basket straight up, and troubleshoot deflation as a proofing or shaping issue before assuming the basket is the problem.
A clean release comes down to confidence and timing. Once the dough is proofed, place your parchment, peel, or baking surface over the basket, hold both firmly, and invert in one smooth motion. Then lift the basket straight up rather than peeling it away slowly.
If the dough clings, don't tug hard. Give the basket a gentle tap or small shake first. If you've floured well and proofed correctly, that is often enough.
Deflation usually happens for three reasons: the dough was overproofed, shaping tension was weak, or the loaf stuck and got stretched during release. If this keeps happening, review the workflow instead of blaming only the basket. If the dough repeatedly drags during release even with good flouring, that points back to the liner solution covered above.
How should you clean, dry, and store a banneton basket?
Keep care simple: brush out flour, let the basket dry thoroughly, avoid soaking it, and store it somewhere dry and ventilated.
The best banneton care routine is simple. Let the basket dry fully after use, then brush out the loose flour with a dry brush. That is enough for most sessions.
Avoid soaking the basket or storing it damp. Too much moisture can shorten its useful life and make storage less pleasant. If you ever need more than dry brushing, use as little moisture as possible and let the basket air dry completely before putting it away.
Store the basket in a dry, well-ventilated place. Do not stack it into a sealed space while it still feels cool or damp from recent use. A little patience prevents most odor issues.
Liners can also make care easier because they reduce direct contact between dough and basket.
Over time, a well-kept rattan basket develops a comfortable, seasoned feel. That's part of the appeal. You are not trying to keep it pristine. You are trying to keep it dry, clean, and ready for the next loaf.
For a full maintenance routine, see our banneton cleaning and care guide.
FAQS:
What is a banneton basket in simple terms?
A banneton is a proofing basket that supports shaped dough during its final rise. It helps the dough hold form before baking and can leave decorative flour rings if used without a liner.
Is a banneton necessary for sourdough?
No, but it is very helpful. A towel-lined bowl can work, especially for occasional baking. A banneton becomes worth it when you want better consistency, cleaner shaping support, and a smoother routine.
What size banneton is best for beginners?
For most beginners, an 8 inch basket is the easiest starting point. It covers standard home baking well without feeling too small or oversized. Choose round for boules and oval for batards.
Do you need a liner for a banneton?
No, not always. Use the basket bare if you want flour rings and your dough already releases well. Add a liner when sticking, cleanup, basket protection, or liner replacement is the real issue.
How do you stop dough from sticking to a banneton?
Use a dry basket, dust it well with rice flour, and make sure the dough has decent surface tension before proofing. If sticking continues, the best fix is often a matched liner rather than a different basket.
Can you wash a banneton basket with water?
Use water sparingly. For regular care, let the basket dry and brush out the flour. If you use any moisture at all, keep it light and air dry the basket fully before storing it.
Conclusion
A good banneton supports your dough, simplifies proofing, and helps you bake with more consistency. The key decisions are straightforward once you break them down: choose round for boule or oval for batard, pick the size that matches your usual loaf, and treat sticking as a workflow problem before assuming you need a new basket.
If your next step is solving sticky dough or replacing a worn insert, explore a proofing basket liner. If you're still choosing your basket, round baskets suit everyday boules and oval baskets suit batards.
If you'd rather keep learning before choosing, the best next reads are our round vs. oval banneton guide, banneton sizing guide, anti-stick flouring guide, liner troubleshooting guide, and banneton cleaning and care guide